Showing posts with label icing. Show all posts

Thursday, October 16, 2014

Funfetti Cake Batter Cookie Dough Brownie Layer Cupcakes

I'm always looking for a reason to create something sweet and wonderful.
An upcoming team building meeting, a gathering of friends and a birthday was the perfect excuse to try something that I had been meaning to make for awhile.
 
Funfetti Cake Batter Cookie Dough Brownie Layer Cupcakes
 
 
yup, that's a mouthful to say, so let me try to explain what this masterpiece is. It's funfetti cake batter mixed into cookie dough, sandwiched between layers of brownie and then topped with chocolate icing. In other words, melt in your mouth amazing! This recipe, brought to you by Life, Love & Sugar, is suppose to be made as a cake. Well, I'd much rather have cupcakes, so I modified it a bit.

Brownies

1 1/2 cup vegetable oil
3 cups sugar
3 tsp vanilla extract
6 eggs
1 1/2 cup flour
1 cup cocoa
3/4 tsp baking powder
1/4 tsp salt

Line the bottoms of cupcake pans with parchment paper and grease the sides. Preheat oven to 350 degrees.
Mix together the oil, sugar and vanilla extract. Add eggs and mix until well combined.
Combine flour, cocoa, baking powder and salt.
Slowly add dry ingredients to the egg mixture until well combined.
Pour the batter evenly into the three pans and spread evenly.
Bake for 25-30 minutes, or until a toothpick comes out with a few crumbs.
 
Remove brownies from oven and allow to cool for about 10 minutes in the pan, then remove to cool on wire rack. While brownies cool, make cookie dough.


Cookie Dough

1 1/2 cup butter, softened
1 cup sugar
1 1/2 tsp vanilla
two 15.25 oz boxes funfetti dry cake mix
1 1/3 cups flour
3-4 tbsp milk
4-5 tsp sprinkles
3/4 cup white chocolate chips
3/4 cup chocolate chips
 

 Cream butter and sugars together until light and fluffy, about 3-4 minutes.
Mix in vanilla extract.
With the mixer on low speed, add one entire box of dry cake mix, plus 1 1/2 cups from a second box of cake mix and mix until combined. 
 
Add 1 cup flour and mix until combined. Add milk and up to an additional 1/3 cup of flour to preferred thickness.
 
 
Stir in sprinkles and chocolate chips. Dough will be thick. Set aside.
 
 
Since we're doing cupcakes instead of cake, cut the brownies in half horizontally and place in cupcake liners.
 
 
Take a handful of cookie dough and mould into a round, flattened ball and place on top of brownie half. Once finished, replace the tops of the brownies on top of the cookie dough.


Chocolate Frosting

1/4 cup butter
1/4 cup shortening
2 cups powdered sugar
1/4 cup cocoa
1 tbsp water or milk
sprinkles, for topping, if desired
 
 
Beat the shortening and butter together until smooth.
Slowly add the powdered sugar and cocoa and mix until smooth.
Add water or milk and mix until smooth.
 
Pipe icing onto the top of the cupcakes. Top with sprinkles.
 
 
Don't they look divine?
 
Everyone who had these wished that I had made more of them. Even I wished I had. These are quite time consuming, but totally worth making.
 

Tuesday, April 29, 2014

Oreo Cupcakes

 
The Handsomest, most Amazing man in the World, my boyfriend Adam (yes, I might be a teensy bit bias in this regard, but I'm ok with that) recently had a birthday.
He decided to throw himself a board game party and invited all his friends.
I, of course, loving themed treats, scoured the internet for ideas for game themed cupcakes, but found I didn't come away very inspired.
Adam asked that I make him Oreo cupcakes instead. I've been meaning to make him some Oreo treats for awhile now, so I jumped at the idea. I looked at lots of recipes and finally decided to do it my own way.
 
For the cake I used the Vanilla Tex Mex recipe, but cut way back on the cinnamon. Instead, I got a bag of mini Oreos and cut them into small chunks, middle stuff and all and mixed them into the batter.

 
I placed a full sized Oreo cookie at the bottom of each baking cup, then filled the rest with batter.
Like the Tartcuppins, having something at the bottom of your cake makes the baking time change. The heat doesn't penetrate the same. I ended up baking them for about 10 minutes longer and then broiling the top of them, hence the slightly browned look.

mmm... look at those big Oreo chunks...
 
For the icing, I wanted to do something special. I looked up recipes for homemade Oreo's and used the recipe for "the middle stuff" from Sally's Baking Addiction, tripled the recipe and made it into icing. 

1/4 cup (60g) unsalted butter, softened to room temperature
1/4 cup (48g) vegetable shortening, room temperature
1 and 3/4 cups (210g) confectioners' sugar
1 teaspoon vanilla extract

In a small bowl using a handheld or stand mixer with a paddle attachment, beat the butter and shortening together on high speed until creamy and combined, about 1 minute. Turn the mixer off and add the confectioners' sugar and vanilla. Beat on low for 1 minute and then switch to high and beat for 1 more minute until creamy and combined. The cream filling is thick.

I tweaked this recipe, using a bit of milk, a bit more vanilla and Oreo crumbs until I found a taste that I felt worked.

 
Once the cupcakes were iced, I placed the remaining mini Oreos on top as garnish.


Don't they look good?


Check out what they look like inside. You can see the Oreo at the bottom, which had softened nicely in the oven.
 
 
These cupcakes were heavenly! I made about 24 all together and all but 2 or 3 were left at the end of the night, which was pretty good, since there were only 7 of us there. The remaining cupcakes were gone the next morning and made a terrific breakfast ;)
 
You should try these, they are to die for!

Tuesday, April 8, 2014

Rose Water And Raspberry Cupcakes

It's been a quiet few months here. After Christmas and New Years are both over, everyone seems to go into hibernation mode. Well, at least here in Canada, where it has been a super cold and dreary winter.
Everyone hides and inside and there are very few reasons to bake or use the new cupcake book and supplies that I got for Christmas.

Yes, I was the lucky recipient of a William-Sonoma gift-card this Christmas! 
The first thing I bought was this amazing cupcake book.


That was quickly followed by a jar of rose water and a jar of orange blossom water. I have been looking for those everywhere!

As St. Patrick's Day approached, my work's social committee decided to have a comfort food pot-luck. And what is more appropriate for me than to make cupcakes?
Since I really wanted to use the new stuff that I had got, I decided to make these!
(sorry, I forgot to take process shots again)


Rose Water and Raspberry Cupcakes

1 1/4 cups all-purpose flour
1 tsp baking powder
1/4 tsp salt
3/4 cup confectioners' sugar
1/2 cup unsalted butter, at room temperature
1 tbsp rose water
2 large eggs, at room temperature
1/2 cup whole milk


Position oven rack in the middle of oven; preheat oven to 350°; line a standard 12-cup muffin pan with paper or foil liners.

In a small bowl, whisk the flour, baking powder, and salt together; set aside.

In another bowl, with an electric mixer on med-high speed, beat the powdered sugar and butter together until light and fluffy, 2-3 minutes.

Add in rose water and the eggs, one at a time, beating on low speed until combined after each addition.
Add in the flour mixture in 3 additions, alternating with the milk in 2 additions, beating on low speed until just combined; scrape down the sides of the bowl as needed.

Divide the batter evenly among the prepared muffin cups, filling each about 3/4 full.
Bake until lightly golden and a pick comes out clean, 15-18 minutes.

Let the cupcakes cool in the pan on a wire rack for 5 minutes; transfer the cupcakes to the wire rack to cool completely, about 1 hour


Rose Water Glaze

1 cup confectioners' sugar
1 tbsp while milk, plus more as needed
1 tsp rose water
2 drops red food colouring

Make the glaze--in a bowl, whisk the sugar, milk, rose water, and food colouring together until smooth; the glaze should be spreadable. If too thick, whisk in additional milk a few drops at a time. If too thin, whisk in additional sugar, one teaspoon at a time; use right away.

Spoon the glaze over the cupcakes (the glazed cupcakes can be refrigerated in an airtight container for up to 3 days; bring to room temperature before finishing).

Top each cupcake with the fresh raspberries and sugared rose petals (if using), dividing evenly, and serve.


Don't they look super pretty?

They were really delicious, although a bit intense with the rose water. I would cut it back a bit next time.
These weren't really the right thing to take to a comfort food pot-luck. They are a little too fancy for that. They would be much better suited for an afternoon high tea.
I will for sure make them again.

Sunday, December 29, 2013

Bacon Cupcakes


Bacon Cupcakes
Maple Bacon Cupcakes
Take some bacon and you put it in a cupcake
Bacon Cupcakes
That's what I'm going to make
Bacon Cupcaaaaakes!

That is, of course, put to the Bacon Pancake tune from Adventure Time!

art by Matt Reedy
Now, this is a catchy tune on it's own, but it gets even catchier when Feast of Fiction sings it.


Ok, ok, so I'm not actually making pancakes, but when I got this song stuck in my head for over a month (your welcome) it started to involve into other things, and bacon cupcakes was one of them.

For Christmas I made my friend John some Maple Bacon Cupcakes by Bacon Today and sang this song through the whole process. Also, I was so caught up in singing and baking that I forgot to take process shots. Sorry :( 
But his recipe is too good not to pass on!


Bacon Maple Cupcakes

(makes about 6 cupcakes so you might want to double or triple the recipe)

 4 1/2 tablespoons butter, room temperature
 1/2 tablespoon bacon drippings (left in the fridge to become solid)
1 egg
5 tablespoons brown sugar 
4 tablespoons maple syrup
1 1/4 cups self rising flour
1 teaspoon baking soda
1/2 teaspoon baking powder
tiny tiny pinch kosher salt
1/4 cup milk
1/4 cup of minced (maple) bacon, cooked and drained

Cook some bacon in a fry pan (about 6 thick strips). Reserve the drippings and place in the fridge to solidify. Mince 1/4 a cup of the bacon. 
The chef should eat whatever is left to assure that the bacon is tasty. 
Beat the crud out of the butter and solidified bacon fat ’till light and creamy. 
Add the brown sugar and maple syrup and beat well until combined. 
Add the egg and beat until incorporated. 
Sift the flour, salt, baking soda and powder together.
Add some of the flour and mix, then some of the milk, then continue to alternate the dry and wet ingredients, ending with the dry. Mix until just combined. 
Fold in the bacon. 
Taste and add more maple syrup, flour, or milk if needed for desired taste. Keep in mind the maple frosting is very sweet, and to add in very small increments for alterations as maple syrup in large amounts can break a cake batter.
Scoop into cupcake papers and bake at 350 F for 18-22 minutes or until a toothpick comes out clean. Be sure to rotate the pan after the first 15 minutes for even baking. 


Maple Syrup Frosting

(Again, this doesn't make much, so you'll want to make extra)

4 tablespoons of butter.
2 tablespoons of maple syrup.
1 cup of powdered sugar.
turbinado sugar (optional, but recommended).
coarse grain sea salt (optional, but recommended).

Combine the syrup and butter until combined. 
Add the sugar, a bit at a time, and whip at high speeds until combined. 
Pipe or spread onto cupcakes. 
Sprinkle on sea salt and turbinado sugar for decoration and a lot of added flavor.
(add some crumbled BACON TOO!)


I didn't add any of the extra bits, since it already looked so good. 
The cupcakes themselves look a little dark, but that's the added maple to the batter.
They were really quite good, which surprised me. I was worried that they would be strange.
These make the perfect gift or a really great pot-luck dessert that will keep people talking.


If you decide to try these, let me know how it goes!

Sunday, November 10, 2013

Halloween - Bake Star Wars For Me Style

Wow, there has just been so much going on these last few months, I've barley had time to breath, let alone bake or blog. When did life get so busy?

This last week was no exception, especially with Halloween.
Now, I know I usually blog on Talk Star Wars To Me about Halloween, but this year, I figured that here was more appropriate, considering that there was a lot of food involved and not as much costuming. 

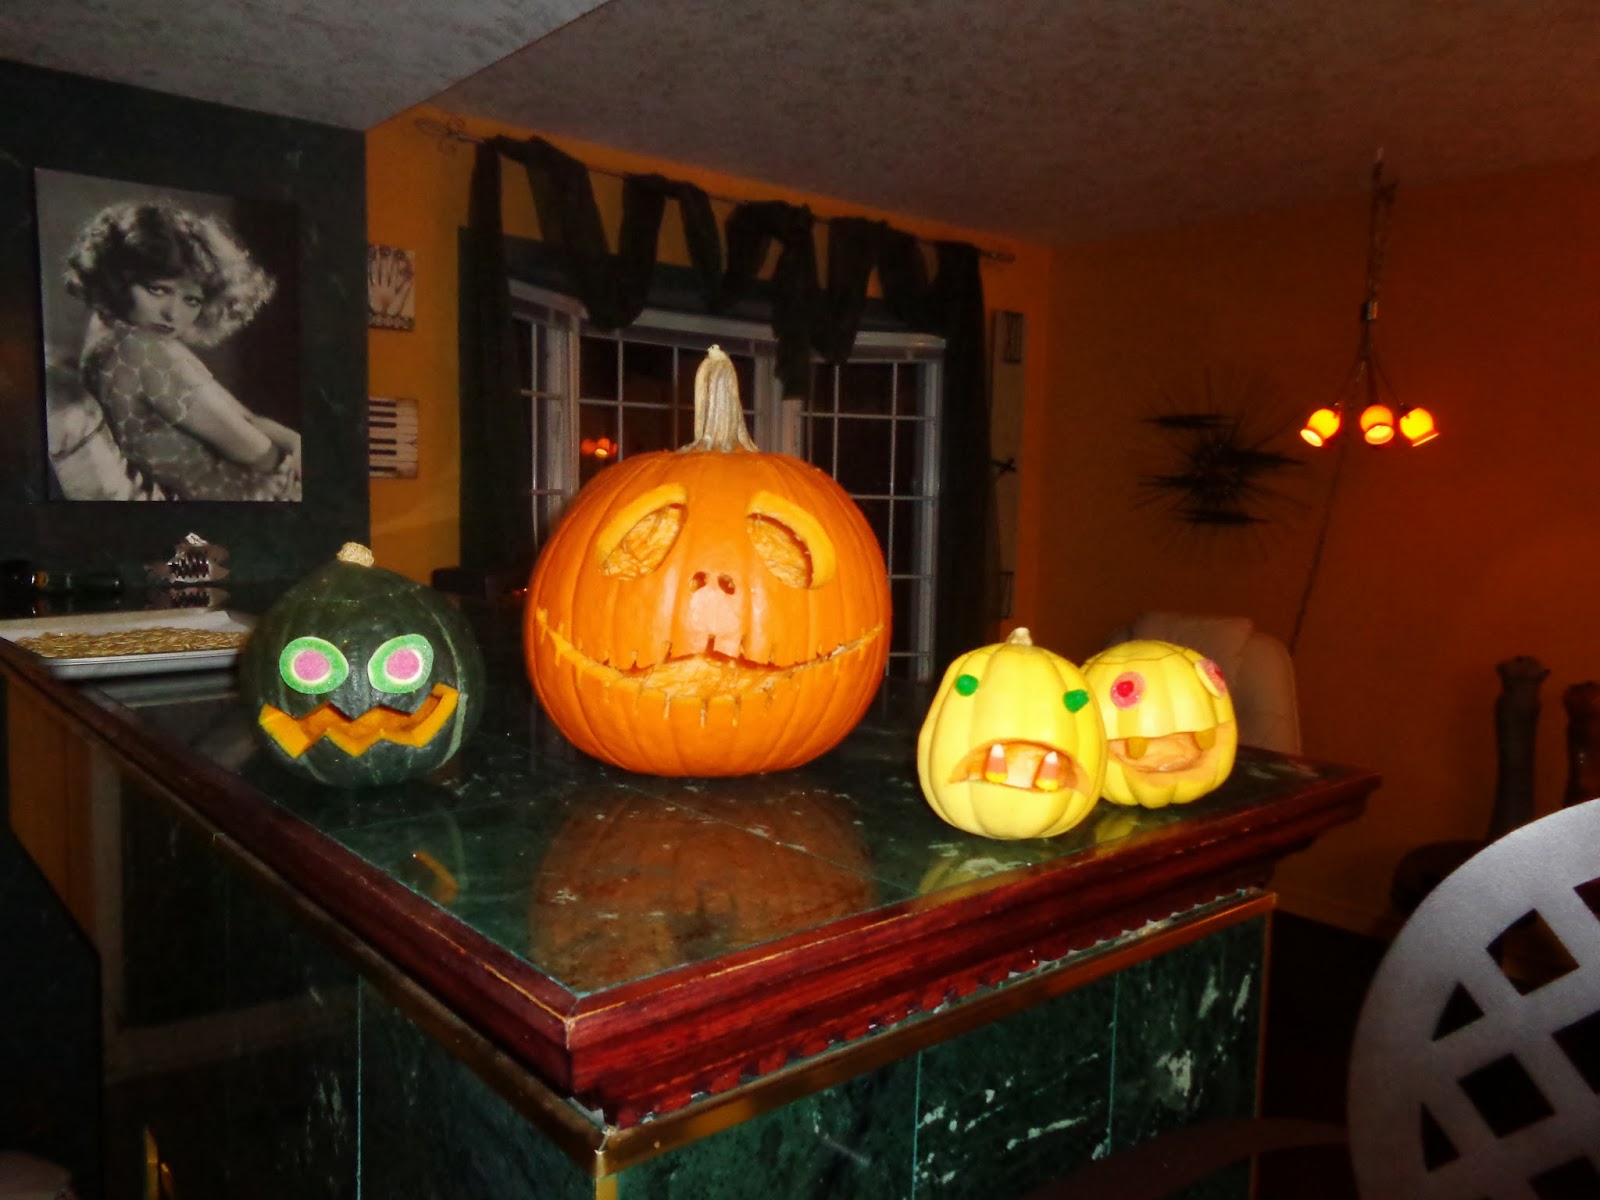
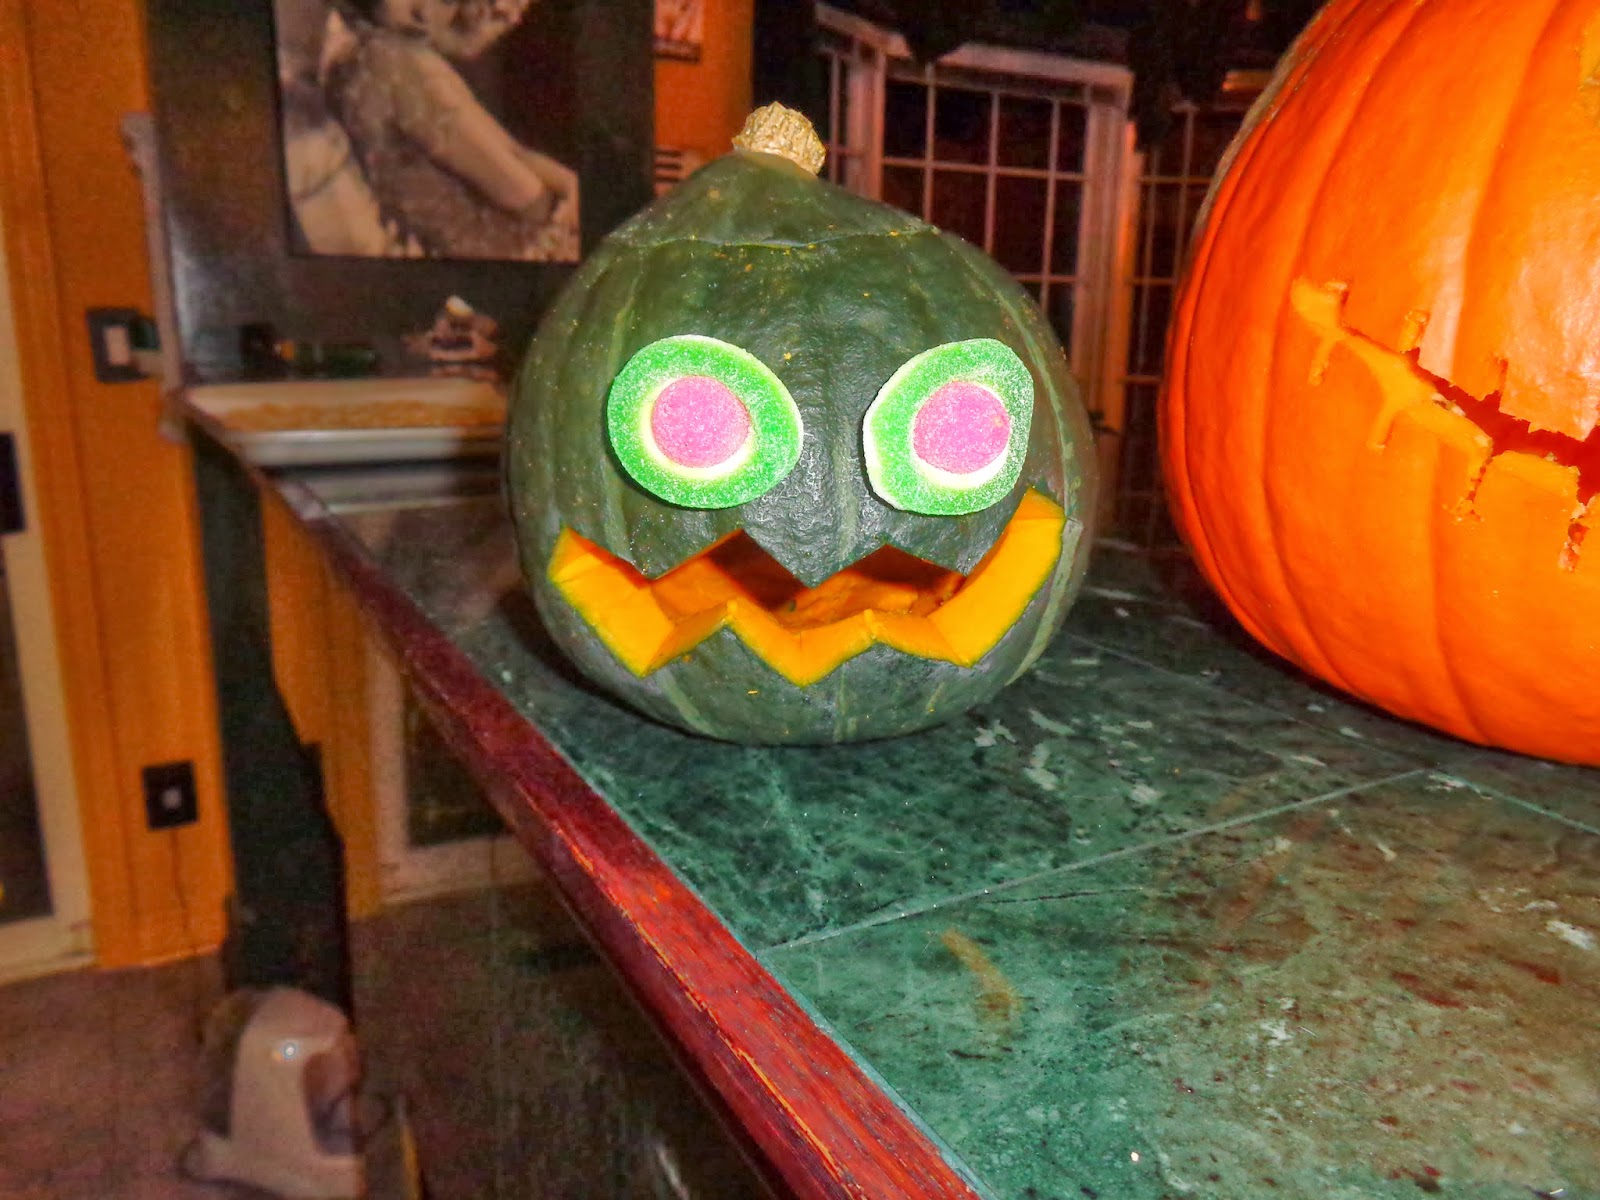
Let's start with pumpkins. My awesome friend Jocey, invited me over for some good old fashioned pumpkin carving! Now I hadn't carved pumpkins since I was a kid, so I was super excited and kind of leery  about my pumpkin carving skill level.


But as you can see, I don't think I needed to worry, Jocey had a plan.


 And an awesome array of pumpkins, squashes and gourds


This little guy's name is Gord.


Jocey's fantastic Jack Skellington


Lou and Hillbilly Billy


My Ernie turned out pretty good if I do say so myself


 Here they are all lit up


Check out how creepy this guy turned out!


So, the day before Halloween, I made cupcakes for the night itself. We had a Call of Cthulhu RPG night planned and I wanted to make cupcakes that would go with it.
But what flavour do you make something so dark and mysterious?
I went with the only thing I could think of; Guinness. I mean, it does absorb the light around it...


Guinness Cupcakes

1 (12-ounce) bottle Guinness Stout
1/2 cup milk
1/2 cup vegetable oil
1 tablespoon pure vanilla extract
3 large eggs
3/4 cup sour cream
3/4 cup unsweetened cocoa 
2 cups sugar
2 1/2 cups all-purpose flour
1 1/2 teaspoons baking soda

 Preheat the oven to 350°F. In a large mixing bowl, combine the Guinness, milk, vegetable oil, and vanilla. Beat in the eggs, one at a time. Mix in the sour cream.


 In a large mixing bowl, whisk together the cocoa, sugar, flour, and baking soda. Gradually mix the dry ingredients into the wet Guinness mixture.


I love my mixer soooo much!


 Butter 24 muffin tins and divide the batter among the muffin tins


I used these awesome cupcake liners that I've had kicking around for a few years now and never had a good reason to use. I think they were perfect for this.

 Bake 25 minutes, until risen and set in the middle but still soft and tender. Cool before turning out of the tins.

I didn't really like the icing recipe that went with these, so I decided to make this instead.

Cream Cheese Icing
by Allrecipies

2 (8 ounce) packages cream cheese,
softened
1/2 cup butter, softened
2 cups sifted confectioners' sugar
1 teaspoon vanilla extract

In a medium bowl, cream together the cream cheese and butter until creamy. Mix in the vanilla, then gradually stir in the confectioners' sugar.

I then tinted it red with more red food colouring than I'd like to admit.
I couldn't find my awesome piping tip so I had to ice them by hand, which leaves a lot to be desired. I then added slivered almond teeth and chocolate covered almond eyes and there you have it

THE EYE OF AZATHOTH!


Perfect for a night of Horror!


This was my costume for work. Yup, I was a business-casual Darth Vader.
I really just wanted to wear my Darth Vader dress. Can you blame me? It's pretty awesome.


We also attended a Halloween party with some friends on the weekend and were asked to bring snacks.
Instead of making something sweet, like I usually do, we decided to try something else instead.

Deep Fried Ravioli

1 package store bought ravioli (about 24)
1 cup buttermilk
2 cups Italian style bread crumbs
1 tsp dried Oregano
1/2 tsp salt
1/2 tsp freshly ground pepper
grated Parmesan or Pecorino Romano
vegetable oil and olive oil for frying
fresh basil for garnish

Preheat the oil: Fill deep frying pan with two inches of oil- 3/4 vegetable oil, 1/4 olive oil. Preheat until a thermometer reads 325°. Or you can guesstimate like we did, but I don't recommend it.
While the oil heats and sauce cooks, prep the ravioli. Place the buttermilk in a shallow bowl. Place the bread crumbs, oregano, salt, and pepper in another bowl. Line a baking sheet with parchment paper for the ravioli. Dip first in the buttermilk, shaking when lifting out of the bowl, then dredge in the bread crumbs. Place on the baking sheet while you coat the remaining ravioli.


When the oil is hot, fry the ravioli in batches, turning until golden brown- about 3 minutes.


Using a slotted spoon, transfer the ravioli to paper towels to drain.


Sprinkle with extra cheese and shredded basil.


How amazing do these look?


Cheesy Marinara Sauce:

1 14 oz can diced tomatoes
1/2 onion, minced
2 large cloves garlic, minced
1/2 tsp salt
1/4 tsp red pepper flake
2 tablespoons extra virgin olive oil
1/2 cup grated pecorino romano cheese

 In a medium sized saucepan, sautée the onion in olive oil over medium low heat for 8-10 minutes, until very soft. Stir in garlic and cook for about 1 minute, until fragrant. Add in the tomatoes, salt, and red pepper flake and cook over medium low heat, stirring occasionally, for 10 minutes.
Remove from the heat. Using an immersion blender, blend the sauce directly in the pot until mostly smooth. Fold in the  grated cheese.


You're going to want to try this recipe. It's fantastic! It was hard not to eat them all myself.
They didn't last very long at the party. Once people started trying them, they disappeared!

As for costumes, Adam and I went as Hipster Mario and Luigi


Yeah, we went there.


I love his moustache!


So hipster....


So how was your Halloween? Do/make anything special? Let me know.