Saturday, June 12, 2010

Focaccia and Roasted Garlic


mmmmm.... focaccia bread... my personal favorite. Out of all the yummy bread that I could choose to eat, I would choose this 9 times out of 10.

Now today's post is going to be less than regular geeky, but I thought it would be worth posting about anyway. 

I went over to my best friend's yesterday and helped her prepare a wonderful meal for a group of us that were getting together later that night.
So the menu consisted of the following: homemade lasagna, focaccia bread and roasted garlic.

We started off with the focaccia bread, which turned out to be a lot easier than I had anticipated.

7 cups all-purpose flour
2 tbsp white sugar
5 tsp dry active yeast
1 1/2 tbsp of kosher salt
1 tsp of pepper
2 1/2 cups warm water
1/4 cup olive oil

We started off by adding the dry active yeast into the warm water. This apparently activates the yeast and you can tell if it's still good or not. Then add in the olive oil.


Next we added the flour, sugar, salt and pepper into a large mixing bowl and give them a stir.


Slowly start mixing the two together, making sure you stir in all the water. This is where they say you should turn to a mixer on a dough setting, but well, we didn't have one of those. So it was time to break out the muscle and stir like there was no tomorrow. And when that becomes too hard, kneed, punch and finagle the dough until it looks just right.


I found punching the dough to be very fun and almost a little therapeutic.
Divide the dough into 2 separate halves and slightly grease, wrap in plastic bag or plastic wrap. Then place it somewhere warm like a window or in a low heated oven (100' or so) for 25-30 minutes or until it doubles in size.


Unwrap the dough and form in the shape you want it on a pan.
Cover them back up with the plastic and place back in the sun or oven until it doubles in size again.


Remove the plastic and make finger indentations along the top of the dough to hold your ingredients. Top with any ingredients you want. We topped them both with sea salt, then one with chili and garlic, and the other with dried onion.


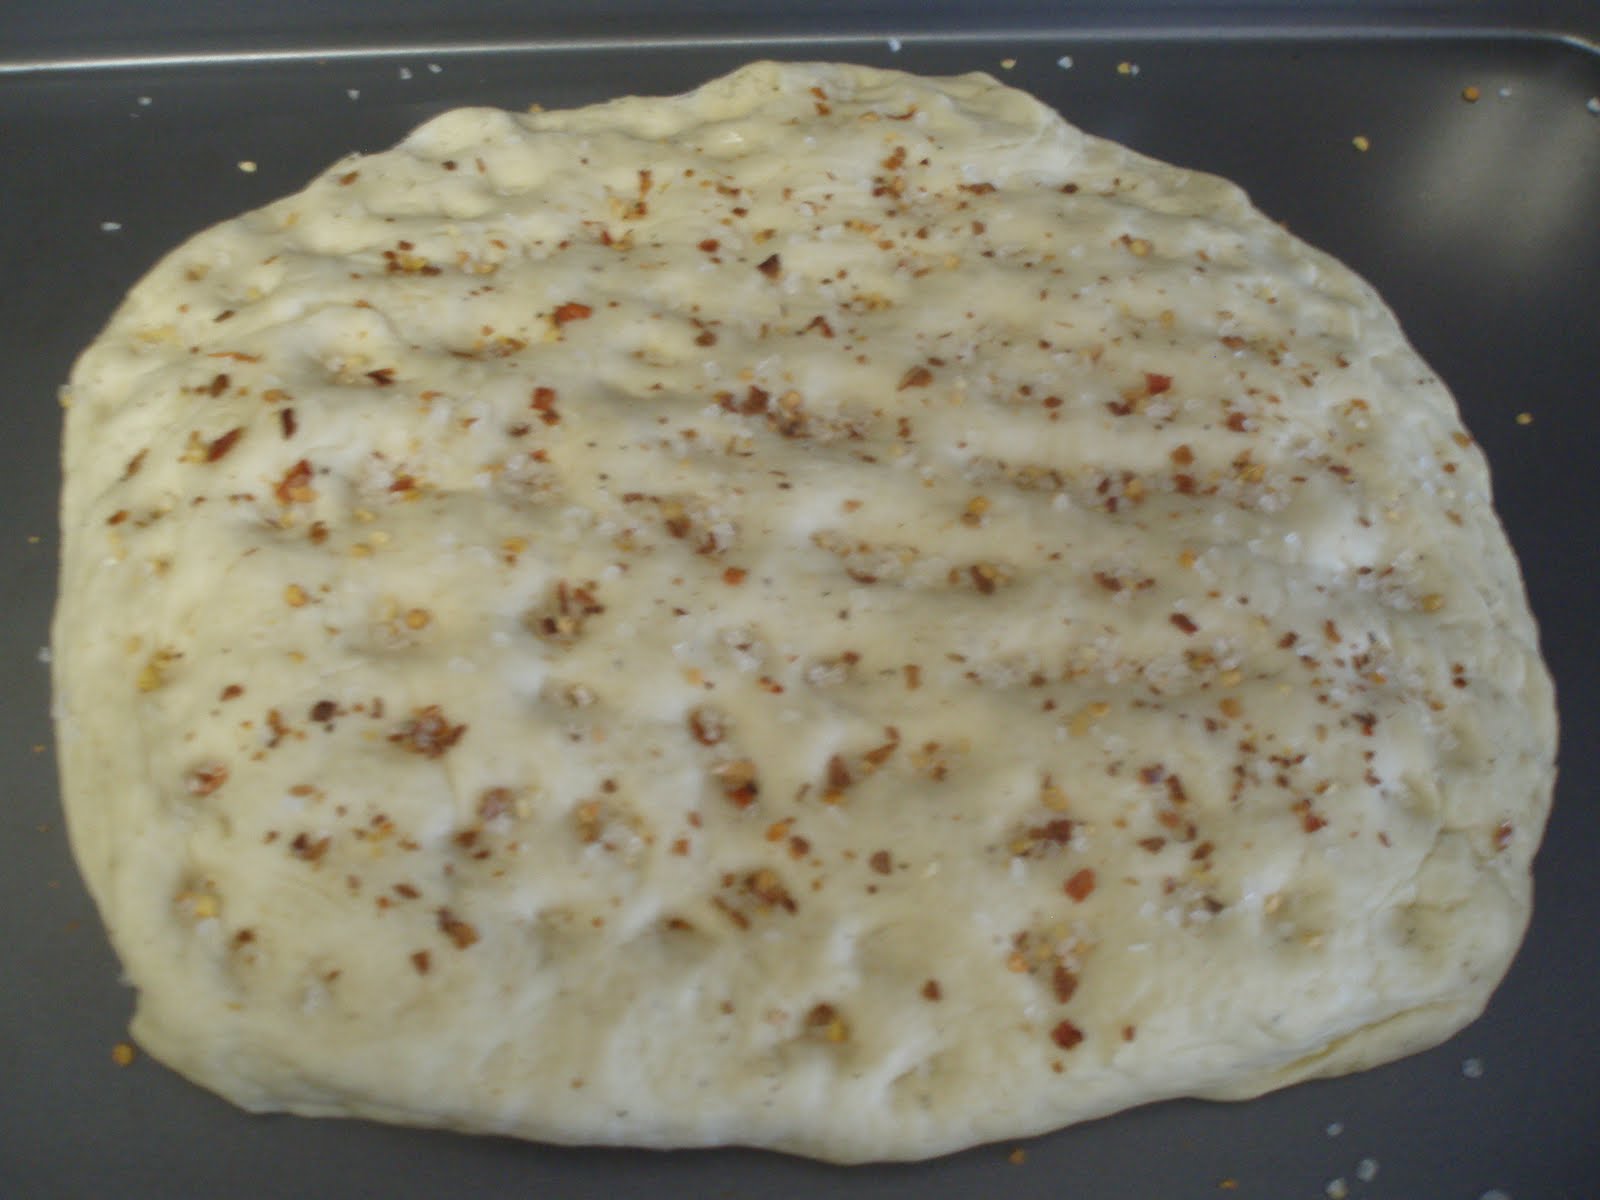
Bake in the oven at 350' for 25-30 minutes


It's going to look so good that you won't even be able to get a picture of it until it's already half gone. lol.
This recipe comes to you from Marty's World Famous Cookbook
Next time I try to make this, maybe I'll shape it into a Yoda head and sprinkle it with parsley or something :P

We Also made some roasted garlic, which is super easy. All you have to do is cut off the tops of the garlic,


place them in a pan and drizzle them with oil and salt


flip them over so that they face down and put them in the oven at 250' for 1 hour.


They should be so soft and moist when you take them out that they will be spreadable. Now go and spread some on that freshly baked bread and enjoy!

Sunday, June 6, 2010

Star Wars Sugar Cookies


I love cookies! I love everything about them; from the planning, the baking, the decorating, to the eating, I love it!
Don't get me wrong, sometimes it can be a nightmare, but even still, there's always something fun about it.

Take last week for example. I had picked up some awesome Star Wars cookie cutters from Williams-Sonoma and it was finally time to use them.


 I went out and bought all the ingredients, started to put it all together and started documenting the whole process so I could do a post on this here new blog. Well I guess I was paying more attention to that then to the recipe, and made one tiny mistake... ok, so maybe tiny isn't the right word. The recipe called for 2 sticks of butter, so I put them in. Well it meant one of those little sticks, the 1 cup kind. I used the big sticks, the 2 cup kind. And then of course one I figured that out half an hour later, I realized that I didn't have enough of the other ingredients to fix it. So into the trash it went.

Darth Vader found my lack of following directions disturbing...


So since then, I've been wanting to try again. I finally got that chance yesterday, and lets just say, I did a much better job this time.

I started out with all the ingredients on the table. I like to do this so that I know I have everything that I'm going to need. I hate having to turn off the oven and run out to get something else at the last minute.


That weird little white thing is my salt shaker (my salt and pepper look like little guys hugging each other)

1/2 cup of butter
3/4 cup white sugar
1 large egg
1 tsp. of vanilla
2 cups of all purpose flour
1 1/2 tsp. of baking powder
1/2 tsp. of salt

I decided to double this recipe.

First, cream the butter and sugar together. Best to let the butter sit out for awhile to get soft first. I started out with this rubber spatula, but quickly switched to a large metal spoon. It worked so much better, but even still, get ready for a great arm work out.


Once creamed, beat in eggs and vanilla.


Add flour, baking powder and salt to the mix.
Mix well.


I got into it with my hands and I found that it was the best (and most fun) way of mixing it.

Pre-heat oven to 375' while you roll out your dough on a floured surface then pick out your cutters.
I chose Star Wars of course.


Put them in the oven and bake for 10-12 minutes


Don't they look yummy?


I even got to wear my cute Star Wars apron that came with my cookie cutters


So once I let them cool, I set about making royal icing. I know there are many different ways to make icing, but here is the one I used. It was ok.

4 cups icing sugar
1/2 tsp. of cream of tartar
3 egg whites

I mixed up the colours and went to town. I'm not a master artist, but I still think they turned out not too bad considering it was my first go at them.


Stormtroopers (my fav is the one that looks like he's frowning)


Boba Fetts and Yodas


More Boba Fetts


Not only do they look cute, but they tasted good too!

All and all, I give them a 3 1/2 stars out of 5

Tuesday, June 1, 2010

Welcome To Bake Star Wars For Me

Hello all!
Braeby here, back again with a new blog. Don't worry, I'm not giving up the old one. I just wanted to have the change to work on something a little bit different.

I love to bake. I'm not overly good at it. Well at least not usually the first time through. I usually distroy each recipe at least once before perfecting it. I'll fill you all in about that (look forward to the story of the Great Gingerbread Fiasco. It's a doosy!)

So here's the idea: 
I've decided that I would like to improve my baking skills, and what better way than to make geeky baked treats? None that I can think of. So I'm going to blog about it step by step and show you some of the great ideas that I've come up with.

The kicker:
The ideas are great in my head, but can I actually figure out how to make them work? Better stick around to find out!


Will my cookies turn out looking this good? No, probably not, but I'm going to give it my best shot anyway!
Wish me luck!