Thursday, May 19, 2011

Challenge #2: S'more Cupcakes


You may remember a while ago, I got a great book called The Icing On The Cupcake, which not only was a cute read, but also had cupcake recipes at the end of every chapter. I decided as a challenge to myself, I would make every recipe in the book and then blog here about them. Well, I was all excited when I stared this back in September, but I kind of got sidetracked after the first recipe. It was so good that I just kept making them every time I wanted cupcakes. I even tried many different types of fruit to see which one I liked the best. (Strawberry still wins so far)

I finally got the opportunity to try something new last week when a lovely friend of mine threw a surprise birthday party for her fiance, who is a big supported of my baking. Although I knew he loved the Strawberry cupcakes, I thought it would be fun to try something new. 

I excitedly got my book back out and started pouring through all the recipes once again. That's when I came across S'more Cupcakes. Chocolate chips, marshmallows and graham crackers....yum!!

1 cup butter, room temperature
4 eggs, room temperature
1 cup heavy cream
1 vanilla bean
2 cups sugar
2 3/4 cups all-purpose flour
2 tsp baking powder
1/2 tsp salt
1 3/4 cups semi-sweet chocolate chips


Place baking stone on the middle oven rack and preheat to 350' and place paper liners into cupcake trays.
Cream butter and sugar with an electric mixer until fluffy, about 3 to 5 mins.


Add eggs and beat for another 2 mins.
Cut the vanilla bean in two and scrape out the brown innards.


This was a really weird step for me, as I never use vanilla bean. I was totally covered with bean scrapings when I was done. I have to wonder if it would've been easier to just use liquid vanilla, but it was certainly an experience.


In a separate bowl, whisk flour, baking powder, salt, and chocolate chips together. It was a little strange mixing the chocolate chips in with the dry ingredients. I guess I'm just use to mixing them in later when I make cookies.


Add dry ingredients to the batter. Stop when the batter is completely blended.


Whip heavy cream in a cold bowl until soft peaks form, fold into batter.


Pour into paper liners and fill 3/4 of the way to the top. Bake 20-30 mins. or until a toothpick inserted into the middle of a cupcake comes out clean. (note: This doesn't work if you accidentally stick the toothpick into a melted chocolate chip. I wasted about 4 toothpicks doing that) Cool for 5 mins, then place on a cooling rack.


Now, onto the Marshmallow Icing.


1 cup unsalted butter, room temperature
5 oz Crisco
2 cups marshmallows
2 tsp vanilla
10 graham crackers

Cream butter and Crisco together. Melt marshmallows in the microwave for 30 seconds, then stir. Repeat until thoroughly melted (or if you're microwave impaired like I am, melt in a pot on the stove)
Whip melted marshmallows with an electric mixer until they are fluffy, about 2 mins.


Add vanilla, mix until combined. Add butter mixture and beat until fluffy, about 2 mins.


Now, this is where is got complicated. All I could taste when I tried it was the Crisco, so I added a few tbsp of icing sugar and a few tbsp of chocolate syrup. I found that really made the icing taste good, but to each their own.


The icing was really nice and fluffy and the cupcakes iced so easily. I used my new, huge, #848 icing tip and it worked beautifully.


I didn't end up sprinkling the cupcakes with graham crackers, but only because I ran out of time.
Everyone at the party loved them and I was super happy with all the feedback that I got.

Monday, May 2, 2011

Do It Yourself: Fancy, Geeky Aprons

Even though I usually forget to put one on before I start baking, I love aprons.
I love pink ones and frilly ones, ones with girly patterns or bold prints! But my favorite, of course, are geeky aprons.


I know I've blogged before about Star Wars Aprons that you can buy, but these ones are a little more special and made totally by hand.

I found them when I was perusing one of my favorite baking sites; Bakingdom.
She had started out by just making regular aprons based on an apron that she already owned. 
But as time went on, she decided to make a few new aprons, geeky aprons!


Gryffindor and a Tardis! How cute are they?
and to top it all off, she made caldron cakes and Butterbeer for her Harry Potter theme (including recipes)


and Weeping Angel and Tardis cookies for her Doctor Who theme!


Check out her site for all sorts of other wonderful projects!

Here is another apron that I found years ago that I've always wanted to make for myself


I wish I knew who made this, but it's been so long that I've lost the link. I love the lightsaber/whip holder the best!

Cupcake Vodka - The Perfect Addition To Baking!


Yes, you read that right. 


That's vodka that tastes like cupcakes!

Ladies and gentlemen, it’s here. Cupcake has produced a vodka that is as rewarding and delicious as the wines that came before it. Handcrafted with the belief that good vodka comes from good ingredients, we used quality American grain, a touch of grape and natural flavors. We don’t add any unnatural sweeteners, because we don’t want our Vodka exaggeratedly sweet; we want it clean, crisp and {you got it} delicious. We are proud to put our Cupcake name on these four super-premium flavors of Cupcake Vodka. So go ahead, Live Deliciously.

This delicious sounding vodka comes in 4 new flavours

Devil's Food


 Frosting


 Chiffon


Original (which I'm going to guess is vanilla)


I so badly want to try these! Not only would it be fun to serve cupcake martinis to guests, but it could be a lot of fun to add into cupcake recipes as well.

I want to try the Frosting flavour first! How about you? What flavour would you try?

Thanks to All Things Cupcakes, who I would love to drink some of this vodka with.

Thursday, February 24, 2011

English Muffins and Cupcakes - A Birthday Spectacular


Last Month was the Spectacular Jocey's birthday. She spent it at the cottage with her family, but as soon as she got back, we knew that we had to do something special.
So we had a sleepover. 
And let me tell you, it was awesome! We spent almost the entire time cooking and baking. gossiping and drinking! 
The first thing we did was make english muffins. We had spent quite a bit of time the week before going over recipes and trying to find one that sounded good. This one involved a griddle, and since Jocey has one, we decided to give it a shot.

1 cup milk
2 tbsp white sugar
1 pkg dry active yeast
1 cup warm water
1/4 cups melted shortning
6 cups all purpose flour
1 tsp salt

Warm milk until it bubbles, remove from heat (185'). Mix in sugar until disolves. Let cool until luke warm.


In a small bowl dissolve yeast in warm water. (adding a pinch of sugar and flour really helps this along) Let stand for 10 mins.


In a large bowl combine milk, yeast, shortening and 3 cups of  flour. Beat until smooth.


Add salt and the rest of the flour or enough to make the dough soft. 
Kneed.


Place in a greased bowl and let it rise.


Punch down, then roll to 1/2 inch thickness. Cut out biscuits.
Sprinkle wax paper with cornmeal and set rounds on the paper to rise. Dust the tops with cornmeal.
Heat griddle. Cook 10 mins. on each side.


They didn't cook quite as well as we hoped, so we ended up leaving them on for much longer than 10 mins.
The texture inside was not nice and airy as we had hoped. The taste was amazing, but the texture was kind of weird.


While this was going on, we also made spaghetti sauce and really great raspberry martinis (I'll have to grab the recipe off of her and blog about them. They were so good)

The next day we continued on with our cooking and baking. We finished up the sauce and made lasagna (with 6 types of cheese!) made some kick-ass garlic bread, some strawberry frozen yogurt and of course, strawberry cupcakes.
I learned how to make Butter-cream Icing finally!

2 tbsp milk
1 tsp vanilla
4 1/2 cups icing sugar
1 1/3 cups butter

Beat until smooth, add food colouring, decorate to your liking.


Don't they look delicious? They were!
We had a lovely dinner party that night and it all went off without a hitch!

Tuesday, January 25, 2011

Jocey's Dad's Montreal Bagels (aka The Best Bagels In The World!)


Mmmmm bagels....
Who doesn't love a good bagel first thing in the morning? I know I do. For years now, I've been buying bagels from the grocery store or if I'm treating myself, stopping by Tim Horton's or one of the other great bagel shops in Toronto.

Well no more! I will never look at another store bought bagel the same again.
Yes, this recipe is THAT good!

It all started a few months ago when I was spending time on the internet, looking up different recipes to try.
I came across a bagel recipe, but after reading through it, I wasn't too sure that I'd be able to pull it off. I thought about it every time I put a bagel in the toaster. 
I was over at my best friend Jocey's one night and mentioned it to her. Now as I've mentioned before, Jocey is like my very own personal Martha Stewart. Her eyes lit up and she told me about her Dad's bagel recipe.
So a week or so later, we decided to give it a shot.

1 1/2 cups of warm water
5 tbsp sugar
3 tbsp canola oil
1 tbsp malt drink powder (regular Ovaltine)
1 package dry active yeast (8 g)
1 egg, beaten
4 1/2 cups unbleached flour
1 tsp kosher salt
1/2 cup honey

Combine warm water, sugar, canola oil, yeast, beaten egg and malt until yeast disolves.


Stir in salt and 1 cup flour


gently add enough flour to make soft dough (3 cups)
kneed dough for 10-12 mins stirring in extra flour as needed


When dough is firm and smooth, cover and let sit for 10 mins


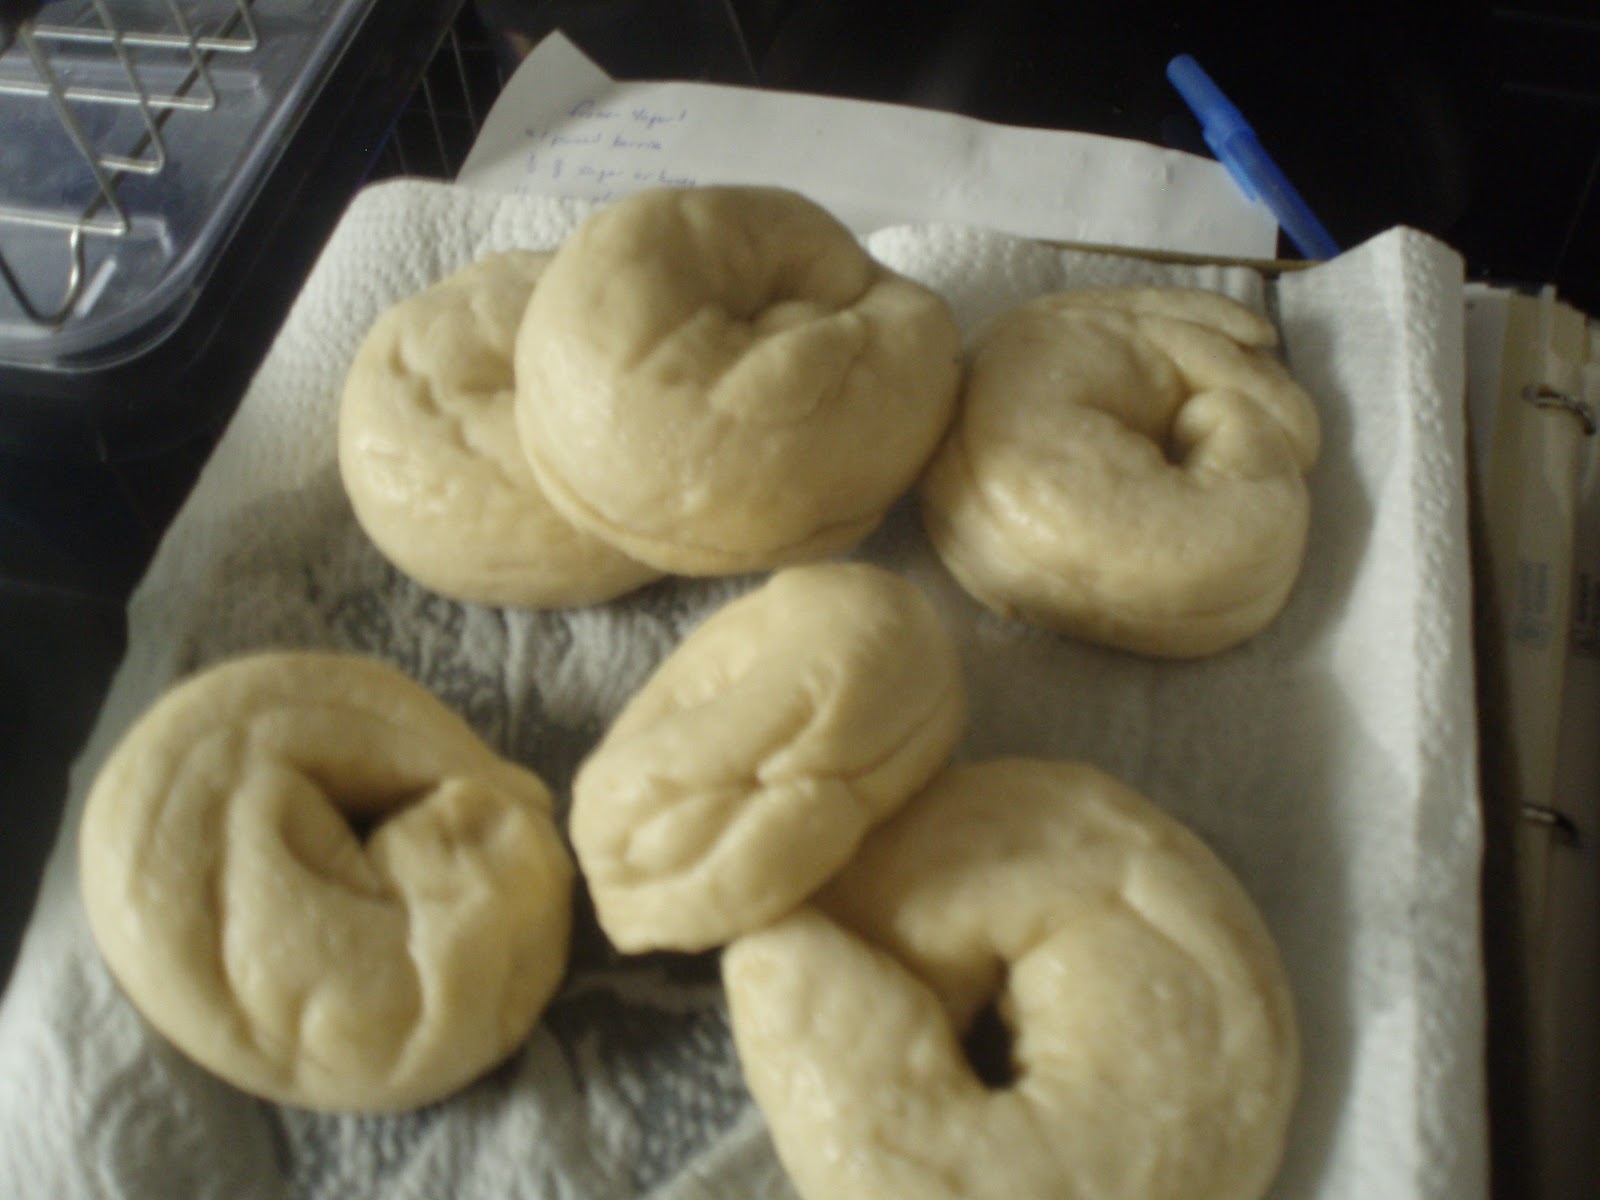
divide dough into 12 equal parts, roll each into 10 inch rope


curve into bagel (use water if needed)


Let rise for 30 mins.


preheat the oven to 425'
(Now here's the strange part)
fill large pot with 6 quarts of water and honey and bring to boil
boil 4 bagels at a time for 90 seconds (45 on each side)


roll in topping 
(we made Everything bagels)


poppy seeds, sesame seeds, dried onion, kosher salt
 (the kosher salt it bigger than regular salt and makes all the difference in taste)


bake for 16 mins (flip after 8)


The most difficult part of this recipe is waiting the 16 mins while they're in the oven.
They may not look like much, but they are the best bagels I have ever tasted in my entire life!
Since then I have made this recipe 4 more times and each time is just as amazing as the first!

I even tried to make Millennium Falcon bagels with my Star Wars sandwich cutters.


They turned out kinda funny looking in the end


Variations that I have tried so far:
Everything
Cinnamon Raisin
Bacon, Onion and Cheese


Oh yes, they were that good!


I highly suggest that you give this recipe a try.
You won't regret it