Tuesday, June 12, 2012

Geeky Kitchen

I've been looking around lately for geeky stuff for my kitchen. Since I will soon have a different kitchen in which I can decorate as I please, I was thinking about giving it a geek motif.  But to do that, there are some things that I would need.


How amazing are these! I would totally serve food on these. They're dishwasher safe as well!


I'm not sure why they picked these 2, but I think it's pretty awesome. My only problem would be deciding who's the salt and who's the pepper. I'd probably put salt in the Hulk, since he looks like he holds more and I don't use a lot of pepper.


I love how these fir together. Although it might look funny with my Star Wars plates.


I would prefer it to say Baking Dawn ;)


Every geek needs a Pi Plate


Wonder Woman Mixer

sadly these are only available in Brazil :(


And last but not least


I would totally make chocolate in them too!


So, what kind of geeky things do you have in your kitchen?

Thanks to That's Nerdalicious! and Stellar Four for wanting to help make my kitchen awesome

Tuesday, April 10, 2012

Cherry Almond Vanilla Cupcakes: An Easter Treat


Easter came and went fast, didn't it? Ron and I had a whirlwind weekend, from going to the ROM to see the Mayan Exhibition, to visiting his family, then off to see mine. By the time we got back we were both exhausted. 
On Thursday, before all the traveling started, I remembered at about 9:30pm that I had been planning on making cupcakes to take with us. Knowing that Ron's family was going to be there bright and early, I did the only thing I could think of; I ran to the grocery store before it closed and stayed up late making cupcakes, Cherry Almond Vanilla cupcakes to be exact.

I had picked up a cupcake magazine awhile back and thought that I would make something fun. 


1/2 cup butter
4 egg whites
2 cups all-purpose flour
1 tsp baking powder
1/2 tsp salt
1/4 tsp baking soda
3/4 cup buttermilk or sour milk
1/3 cup maraschino cherry juice
1 1/2 cups sugar
1 tsp vanilla
1/2 tsp almond extract
12 maraschino cherries, halved
24 maraschino cherries with stems (optional)


 Allow butter and egg whites to stand at room temperature for 30 minutes. Meanwhile, line twenty-four 2-1/2-inch muffin cups with paper bake cups (or coat with cooking spray). In a medium bowl stir together flour, baking powder, salt, and baking soda.


 In a 2-cup glass measuring cup combine buttermilk and cherry juice; set aside.


Cut cherries in half


(try and tie a cherry stem into a knot with your tongue. Congratulate yourself; cuz you still got it!)


Preheat oven to 350 degrees F. In a large mixing bowl beat butter with an electric mixer on medium to high speed for 30 seconds. Add sugar, vanilla, and almond extract; beat until combined.


Add egg whites, one at a time, beating well after each addition.


 Alternately add flour mixture and buttermilk mixture to beaten mixture, beating on low speed after each addition just until combined. 


 Spoon batter into prepared muffin cups, filling each about two-thirds full. Use the back of a spoon to smooth out batter in cups. Press a cherry half into batter in each cup.


Bake for 15 to 18 minutes or until tops spring back when lightly touched. Cool cupcakes in muffin cups on wire racks for 5 minutes. Remove cupcakes from muffin cups. Cool completely on wire racks.


They even look amazing without icing!


Cherry Almond Vanilla Icing

1/2 cup butter
4 cups powdered sugar
3 tbsp maraschino cherry juice or milk
1/2 tsp almond extract

In a large mixing bowl beat butter with an electric mixer on medium speed until smooth. Gradually add 1 cup of the powdered sugar, beating well. Beat in maraschino cherry juice and almond extract. Gradually beat in additional powdered sugar. If necessary, beat in additional juice or milk, 1 teaspoon at a time, until frosting reaches a spreading consistency. Makes 2 cups frosting.


I actually ran our of icing sugar and since it was a holiday, the grocery store was closed. My icing was a bit liquidy, but I added some more butter to it to make it thicker and it worked quite well


The cupcakes were fantastic and didn't last very long at all. I will make these again for sure


Wednesday, April 4, 2012

St. Lawrence Market Named World's Best Food Market

It's a proud day to be a Foodie in Toronto. Our very own St. Lawrence Market (where I do a lot of my specialty grocery shopping) was just named World's Best Food Market by National Geographic!!


The 200-year-old landmark ranked above New York's Union Square Greenmarket and St. Lucia's Castries Market in a list of the 10-best food markets from around the globe.
A short blurb on National Geographic's website credited the farmer's market emporium for playing an integral role in the city's old town neighbourhood.
St. Lawrence Market was founded in 1803 and, for a time beginning in the 1830s, operated as Toronto's town hall.
St. Lawrence Market hosts more than 120 vendors and merchants selling everything from Italian pasta and seafood to fresh produce, cheeses, curries and marmalades.
Rebecca Grima, marketing and community consultant of St. Lawrence Market, said she was thrilled the market was included on the list.
"St. Lawrence Market is engrained within our city's culture. It has helped build the neighbourhood," Grima told CTVToronto.ca on Wednesday. "When you look at all the merchants and the vendors in the market – it is so multicultural. You have almost every single nationality in there, and I think it is a great representation of Canada." - CTV News

I fell in love with the Market my first year living in Toronto. George Brown, the collage that came to Toronto to attend, was just down the street from it. My friends and I often went there on our lunch break. The food vendors were always amazing and we always tried something new for lunch.
As the years past, I still go there when I'm planning to do a lot of baking or cooking to get supplies. It's easy to get beautiful cuts of meat, fresh veggies, high quality cheeses and baking supplies all at a really good price. I always spend a bundle when I go there, but I know it's worth every penny. I'm so excited that National Geographic has recognized what a wonderful place it is.

Sunday, April 1, 2012

Easter Chocolate Worth Going To The Dark Side For

With Easter coming up this weekend, all I can think about it chocolate. Ok..ok... and jellybeans, cupcakes, truffles, my Mom's cooking... you see where I'm going with this... But mostly chocolate.

While surfing Star Wars Facebook'd, my #1 go to sight for all things silly and Star Wars, I came across this picture


Yes, that is a chocolate Millennium Falcon filled with even more chocolate.

you're drooling... 

Don't worry, I am too. Very little is actually know about these amazing chocolate treats, other than people seem to think that they're made from a toy mold. You can see that both sides are attached and then filled after through a small whole in the top.


You can see it right above the front right pointy thing? Oh man, I need to learn more about Star Wars vehicles.... Ok, they're called forward mandibles... I guess right where the sensor dish is....

let's just pretend I didn't have to look this up...
The only fact that we seem to have is that they were made by André Murrai. You can find him here on facebook. You can also find these other amazing treats that he has made


I like to think that the head of Darth Vader is filled with pistachio cream.


And that Han Solo isn't really in carbonite, it's really filled with coffee cream.


Surprisingly, out of all of them, I really want to eat the Batman one the most. I'm not sure why, but when I look at the picture of it, I can almost feel it melting in my mouth... drool...


How would you like to wake up Easter morning to find this Easter Basket waiting for you?


This is my kind of Easter :)

Thanks to Star Wars Facebook'd (and Danielle, of course), Geekologie, Wookieepedia and of course, André himself for making these amazing chocolates.

Friday, March 30, 2012

Lemony Lemon Cupcakes


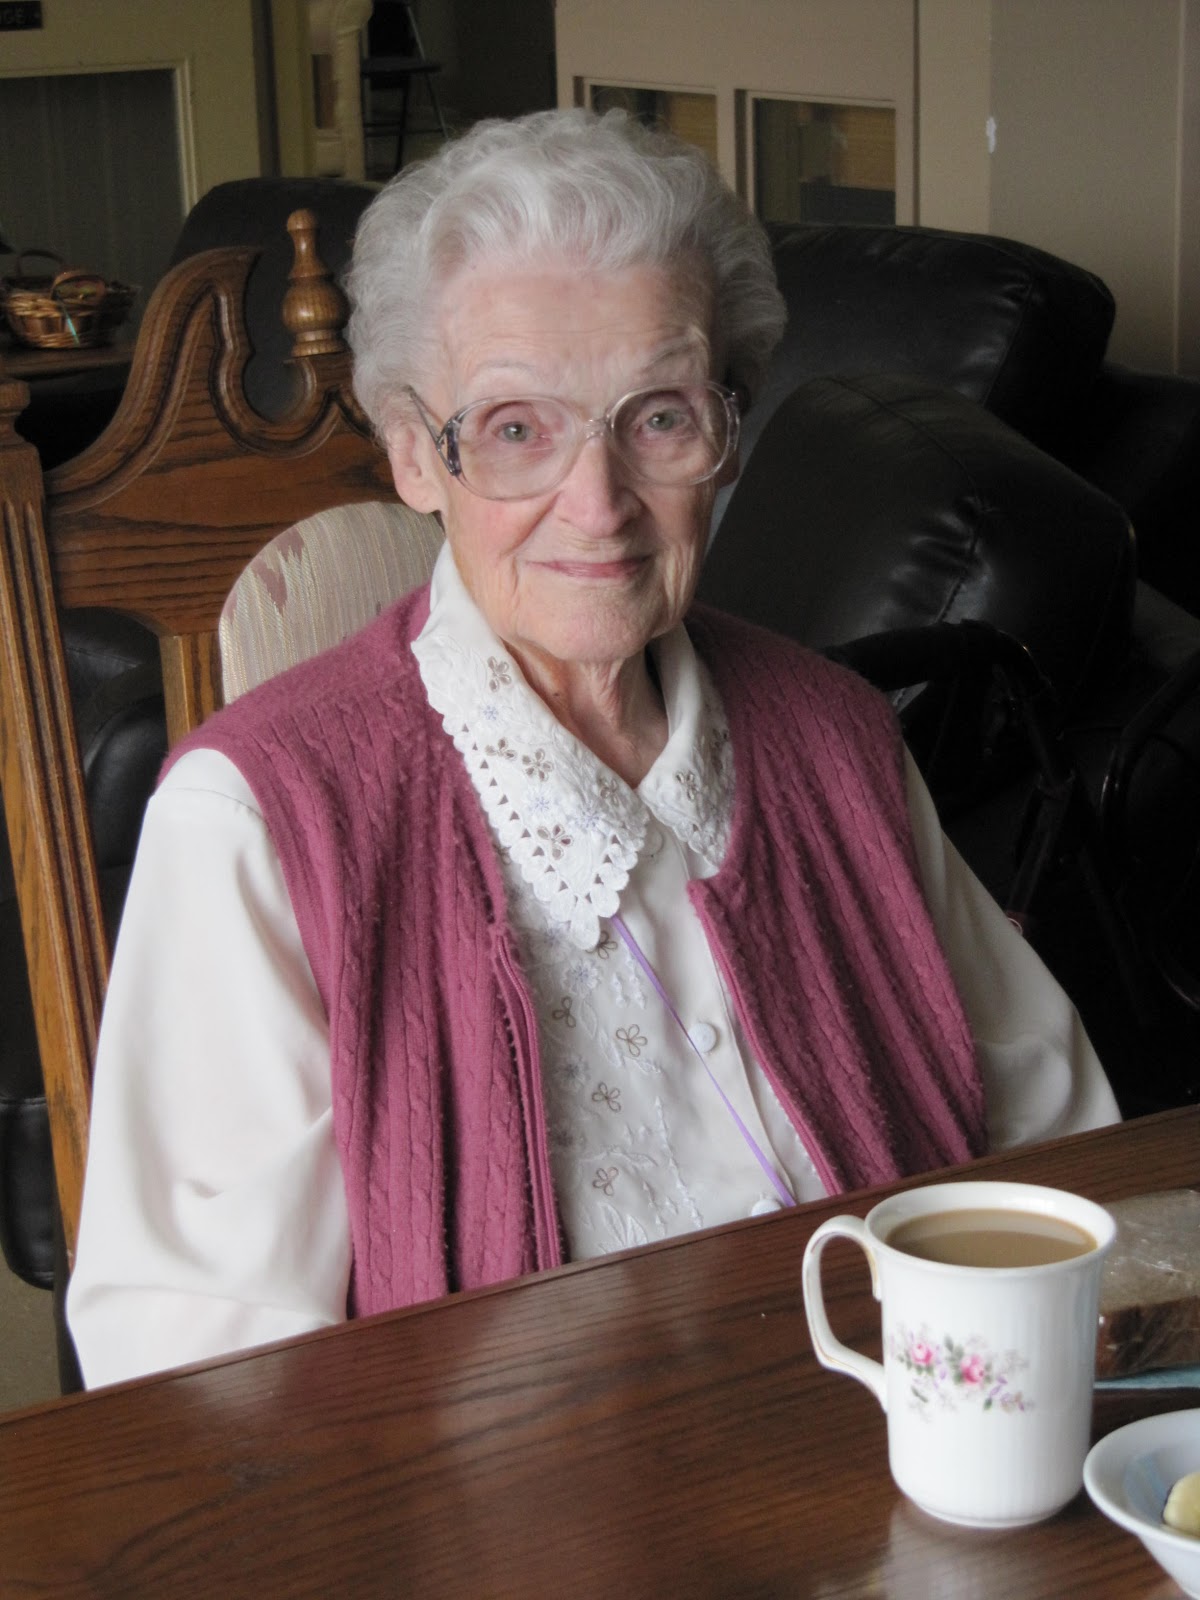
I was back in my home town last week for most of the week. My awesome Gramma was in the hospital and I wanted to be with her, so I headed back to my roots, to the Hospital that I was born in and spent 4 days sitting next to her bed and visiting with my Gramma.


My Gramma is awesome. Her and my Mother were the ones who taught me to bake when I was a child and I have wonderful memories of kitchens past filled with these two lovely ladies and the scent of something wonderful in the oven. My Gramma can't bake anymore, so when I'm home I always try and take her something sweet to eat.

In my haste to get to the train so I could get home to see her, I forgot my cupcake book (and lots of other things that are less important). I was going to pull out a recipe from The Challenge, but without my book, there really wasn't much I could do. I thought about going back and remaking one of the ones I've already done, but when I asked my Mom about it, she asked if I would make lemon cupcakes, as lemony as I could make them. Since I've never made lemon cupcakes and I'm pretty sure my book didn't have a recipe for them, I headed to the internet! I searched all of my go-to baking blogs, but didn't really find much. Finally I googled Lemon Cupcake recipes and came across this excellent one from Style At Home.

1 1/4 cups cake flour
1 teaspoon baking powder
1/8 teaspoon salt
1/2 cup (1 stick) unsalted butter, at room temperature
1 cup sugar
2 large eggs
1 tablespoon lemon juice
2 teaspoons grated lemon zest
1 teaspoon vanilla extract
1/2 cup whole milk

Position a rack in the middle of the oven. Preheat the oven to 350 F. Line 12 muffin tin cups with paper cupcake liners.
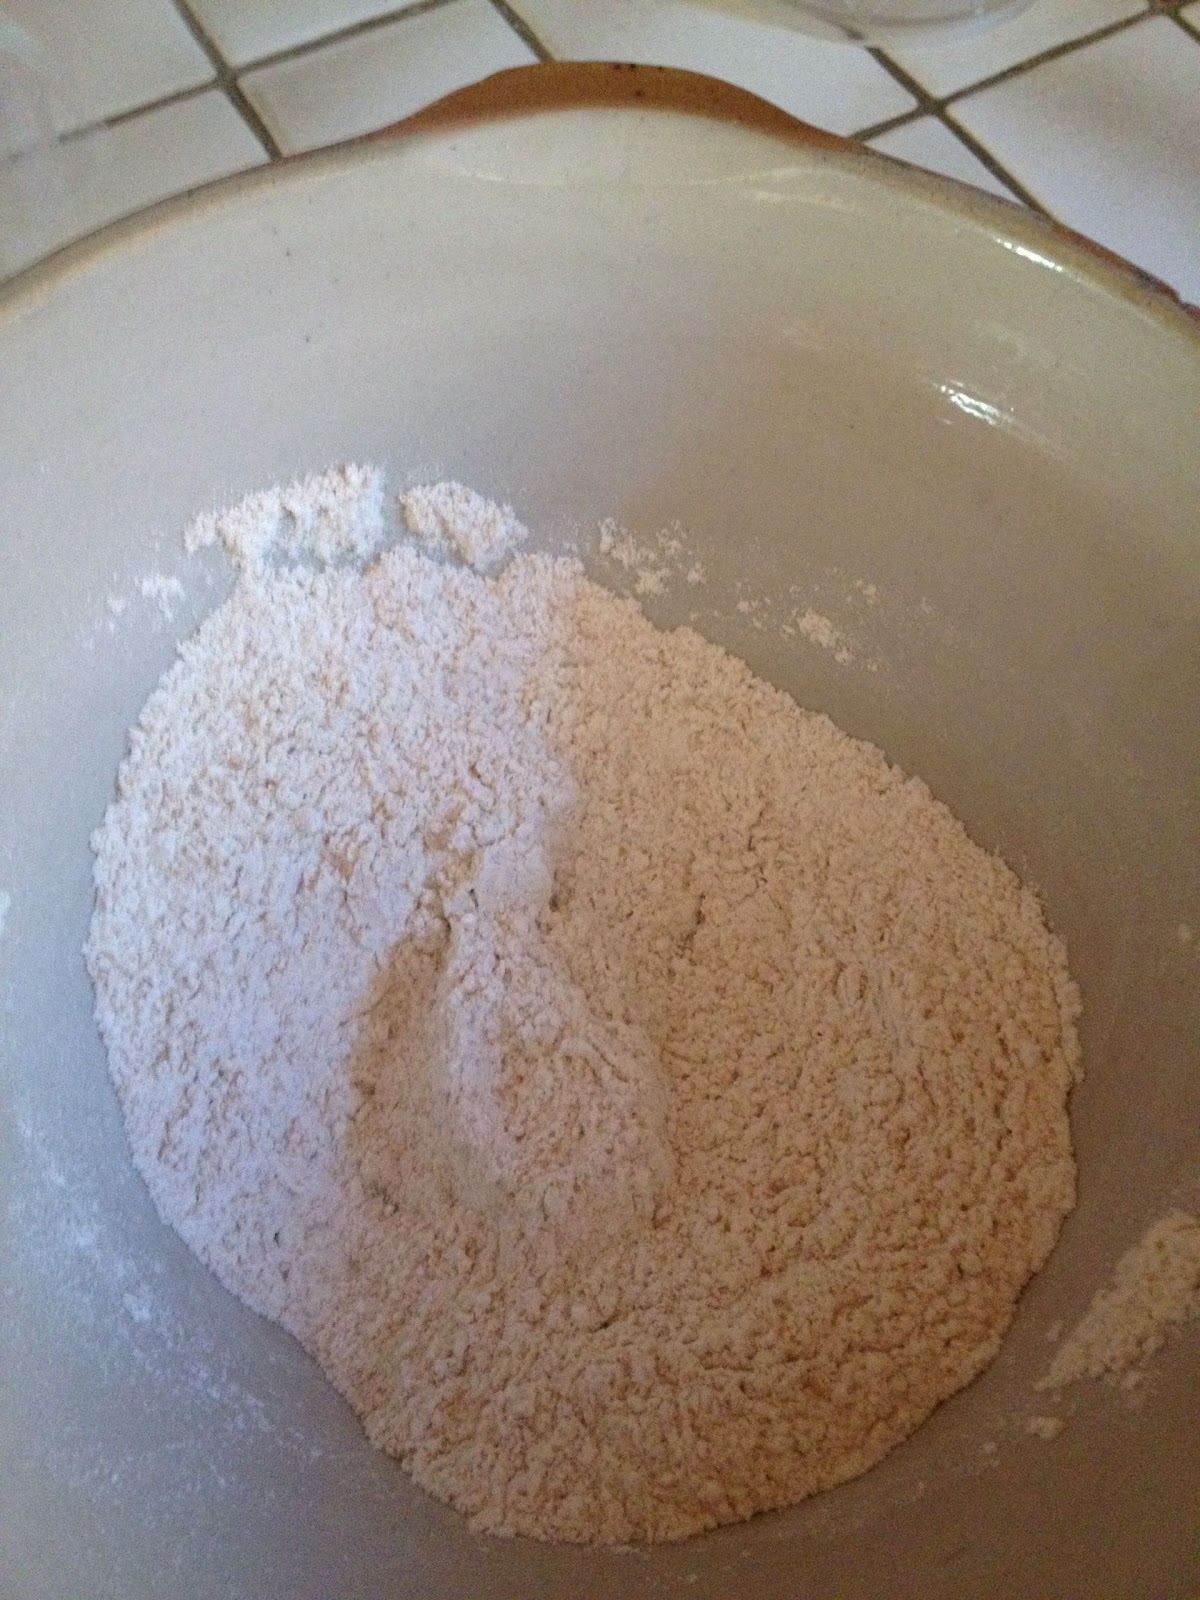
Sift the cake flour, baking powder, and salt into a medium bowl and set aside.


n a large bowl and using an electric mixer on medium speed, beat the butter and sugar until smoothly blended and lightened in color, about 2 minutes. Stop the mixer and scrape the sides of the bowl as needed during mixing. Add the eggs one at a time, mixing until each is blended into the batter and it looks creamy, about 1 minute.


Add the lemon juice, lemon zest, and vanilla and beat for 2 minutes. If the eggs are cold, the mixture may look slightly curdled. (I also added yellow food colouring to give it a nice lemon look)


On low speed and in 3 additions (3 flour, 2 milk), add the flour mixture and milk alternately, beginning and ending with the flour mixture. (we only had whole wheat flour, that's why the batter looks weird)

 Mix just until the flour is incorporated and the batter looks smooth.


Fill each paper liner with 1/4 cup of batter (an ice-cream scoop works well), to about 1/2 inch below the top of the liner. Bake just until the tops feel firm and a toothpick inserted in the center comes out clean, about 23 minutes. Cool the cupcakes for 10 minutes in the pan on a wire rack. Remove the cupcakes from the pan onto a wire rack and let cool completely.


 Lemon Cream Cheese Frosting

1/2 cup (1 stick) unsalted butter, at room temperature
4 ounces cream cheese, at room temperature
2 teaspoons finely grated lemon peel
1 teaspoon vanilla extract
2 cups powdered sugar

In a large bowl, using an electric mixer on low speed, beat the butter, cream cheese, grated lemon peel, and vanilla until smooth and thoroughly blended, about 1 minute. 


 Stop the mixer and scrape the sides of the bowl as needed during mixing. Add the powdered sugar, mixing until smooth, about 1 minute, then beat on medium speed for 1 minute to lighten the frosting further.


(again, I added yellow food colouring to make them look more lemony)


 Now before I iced them, I decided to try and make them even more lemony, so I made a lemon sugar glaze that I found on e how foods.

1/4 cup lemon juice 
1 1/2 cups sugar  
1/2 tsp vanilla extract

Squeeze lemons until you have 1/4 cup fresh lemon juice. Squeeze lemons with your hands over a small bowl. Pour through strainer into small saucepan to remove seeds. Add sugar, vanilla and lemon curd to small saucepan. Turn stove on low heat. Whisk ingredients to dissolve the sugar. Keep whisking until all ingredients have melded together and glaze is very thin. Try your glaze and adjust as needed to suit your taste. For a sweeter glaze, add an extra half cup of sugar. For a glaze with a little more zing, add an additional tablespoon of lemon juice. (I personally, added more lemon and put in much less sugar, but for me this was about lemon and not about sweet)


To ensure that your cake soaks up as much glaze as possible, use a toothpick to make small holes in the cake before topping with glaze or icing.

Spoon or pour hot glaze over cake or drizzle over sugar cookies


After these set, I did ice them with a ziplock bag in place of a piping bag, but there was so much going on that I forgot to take pictures. By the time I thought about doing so, there were none left! My Dad, who loves lemon cake, ate most of them, but I did manage to procure one to take to my Gramma. Everyone agreed that they were the best lemon cupcakes that they had ever had! (even with the whole wheat flour)

I'm glad to say that my Gramma is doing much better and is back home, safe and sound.  Hopefully I will have many more opportunities to bake for her in the years to come.